Weathered Wood

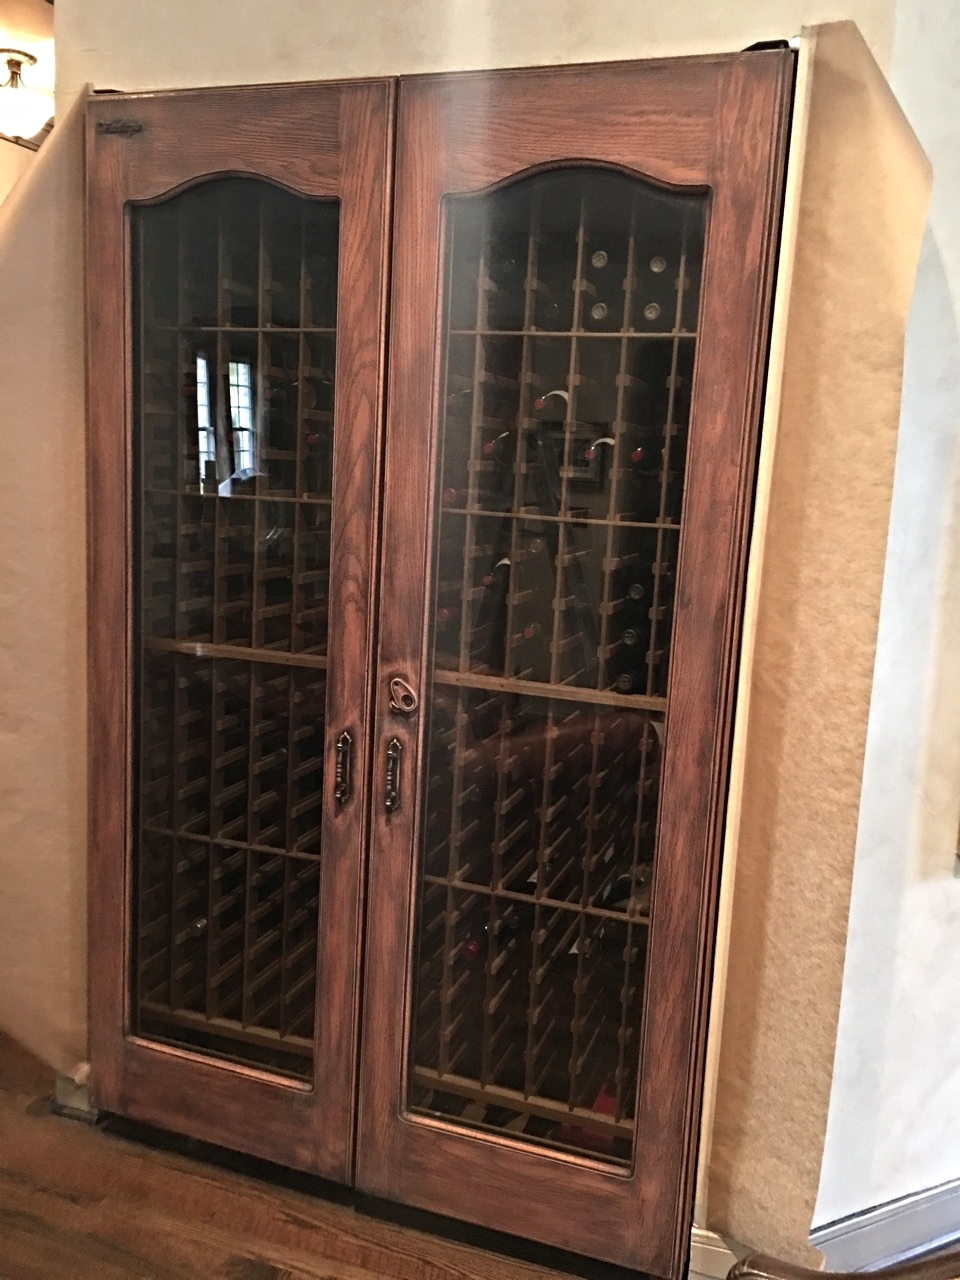
I love the look of weathered wood and was really excited to transform a dark brown and red wine storage. The look of the doors and the placement of this piece is super cool and interesting and so the actual piece itself should be too.. right?!


Day 1:

Sanded to smooth down rough wood grain also to to prep for paint applications. I painted a thick white paint that drys slowly. Once 80% dry I sanded again to rub back in natural chucks for weathered look. Notice I used the term weathered and not distressed or shabby chic. I wanted it to appear natural and organic. Next, I slowly added large "under-grains" to the door. I made up the term "under-grain", I use it to describe the wood-grain that I intentionally control the color, shape, and size of. I do not use a wood graining tool instead I enjoy free handing my "under-grains" so I am able to manipulate each individual movement and tweak colors along the way. I always inform my clients - stages like these are typically scary and ugly before it gets better.... hehe

Day 2:

The heavy under-grains from day 1 are dry and time to add the next layer of graining. Like the first layer of under-graining, its all about the layers and details. I think to myself as I am applying the grains "consistently inconsistent". No matter what project I am working on, I try to avoid symmetry. The grains look choppy and messy right now but they will be cohesive when thetoning layers are applied. I finesse as I go and can always keep adding, so less is better at first. The key is to continuously stand back from the door and look at it from different perspectives.

Day 3:

 Final day today- Today's goal is to use a toning glaze so the graining will officially be "under-grains" as well as make all the color of grains more cohesive. If there is a very heavy grain that I don't feel is being pushed back or buried enough, I apply the glaze a bit more heavily.


Zinc/ Tin stair columns

We wanted to create a "wow" factor on the columns/trim work leading upstairs. We are glazing the entire crown and baseboards in a gorgeous metallic dark brown/black color but thought the shape of the columns could use more oomph.  I came across this idea of embossed plastic that imitates zinc or tin (depending on the finish). I made the sample for approval and its game on.

Stay tuned to see the process of the transformation!


Day 1- Measure twice cut once....

That was easier said than done since these were not square or straight. The key was to specifically measure top, middle, and bottom of the columns in order to get accurate measurements. I also made sure to match each of the patterns to align with the pattern on the touching side.

Day 2- Bondo, Bondo, Bondo.... 

I absolutely love this stuff! Its multi-purpose hardening putty that sands easily and super smooth. Since the edges were not square or straight, I had to get crafty with the Bondo. I used it to fill the gaps/space when the plastic did not perfectly come together.

Day 3- Sanding and priming...

In order for this all to come together and look amazing it needs proper sanding and primer for the paint to adhere. I used 320 grit sandpaper for an ultra smooth finish. The product line I use offers a bonding paint (Faux Effects), set coat in black. I HEART setcoat and use it on 90% of my projects. It has amazing coverage and is super tough stuff, Oh and water based!!!

Day 4- Metallic Paint

Metallic paint can be tricky to apply. My advice is to add some glaze for a longer open time, but not too much so its too transparent.


Day 5- Age and shadow

A slight aging layer to the metallic made it little deeper in color also gave it that "worn" feel. What really made it pop was using an artist brush to darken and push back the shadows.

Day 6- Lastly... all about the details!

I found these round upholstery tacks on Amazon. They are serving two purposes, one- they look awesome, and two they add another level of security to faux tin. The stair risers have also been glazed and shadowed to tie all elements together. Done and Done!